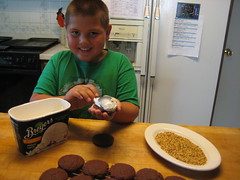
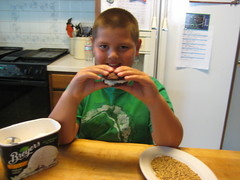
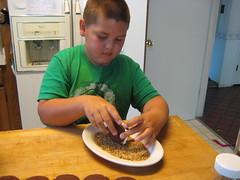
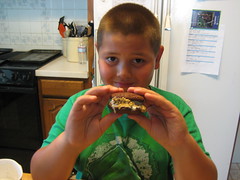
So...ok, I have not updated this blog in slightly over a week, things at my household have been rather crazy. Our son just started the third grade at a new school, my husband had a Navy meeting (
he is on delayed entry...ugh!), and I have been in a quasi-baking-related funk.
No worries though, I am back with a renewed vigor and ready to take on the baking world once again.
If any of you have not heard, Cupcake Hero is back. It is now being hosted by the lovely
iheartcuppycakes And this month's theme is: bananas. My family and I love bananas, unfortunately Mrs. iheartcuppycakes is not a fan. Now although I know she is not the only person deciding the winner, I felt it my mission to not only come up with something eye catching and unique, but also something that I think she would enjoy.
Over the past couple weeks I had been pouring over ideas and discussing them with my husband, to which he always just seemed to nod and agree, he trusts my judgement on all things baking-related. Finally, I thought I had "the cupcake": a red velvet cupcake with some sort of banana infused frosting. However, after trying it, it was not different enough. You know me, safe is never enough. Tried and true is never enough. I wanted more.
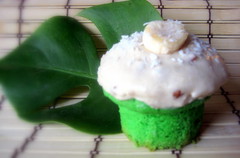
Enter my cupcake, "THE CUPCAKE": Banana Pandan-monium...a pandan coconut cupcake topped with a banana cream cheese frosting mixed with chopped pecans (for a textural crunch) along with a light sprinkling of desiccated coconut and a slice of banana.
The first thing you probably notice is...it is green. Not just green. It is green green. The coloring comes compliments of an Asian staple called
pandan*. While some people will say it has an "herbal or floral" type flavor, I would say it is more of an earthy, somewhat nutty flavor which lends itself well to being paired with coconut, as I did in my recipe. Now I bet you are saying, "That is all fine and dandy, but I thought that the theme was bananas." You would be correct. And while I said that pandan lends itself well to the flavoring of coconut, it also goes exceptionally well with banana. So since pandan goes so well with both flavors; I used both in the cupcake. Also, what is great about this cupcake is that it is a one-bowl mix and does not require any eggs. I hope you enjoy this tropical and optically pleasing cupcake.
BANANA PANDAN-MONIUM CUPCAKES
"
The Pandan-monium Part"
(Makes about 12 cupcakes. Recipe adapted by
ToHappyVegans.)
- 2 cups flour
- 3 tsp baking powder
- 1/2 cup sugar
- 1/2 cup + 1tbsp oil
- 1/2 cup coconut milk (I used coconut cream for a more pronounced coconut flavor)
- 1 cup water
- 1 tsp ( I used 2 tsp of pandan paste because I wanted a strong color and I love the taste)
- 1/4 cup desiccated coconut
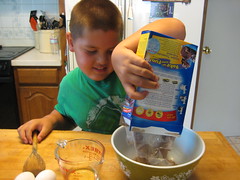
Preheat the oven to 350F degrees.
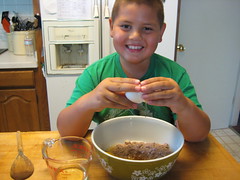
This recipe does not really require any numbered steps. Simply place all the ingredients into a bowl and mix until all the flour is combined. Place in souffle cups, or paper liners, and bake for (15-17 minutes, or until a toothpick inserted into the center comes out clean). Cool thoroughly on rack before frosting.
"
The Banana Part (
ie:Banana Cream Cheese Frosting)"
- 1lb cream cheese, softened
- 1/2 cup butter, softened
- 4 cups sifted confectioners' sugar
- 1 ripe banana, mashed
- 1 tsp vanilla extract
- 1/4 tsp almond extract
- 1/3 cup pecans, chopped
- desiccated coconut and banana slices, for garnish
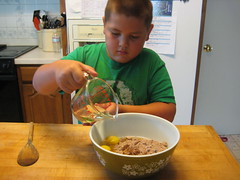
In a large mixing bowl, beat the cream cheese, butter and extracts together until smooth. Add the sugar and on low speed, beat until incorporated. Increase the speed to high and mix until very light and fluffy. Fold in the pecans.
Frost completely cooled cupcakes. Top with a sprinkling of desiccated coconut and a banana slice.
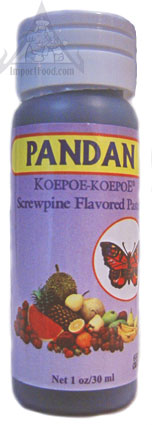
*
NOTE* Pandan paste can most often be found in any local Asian food market. It usually is in the baking isle and looks like
this.


